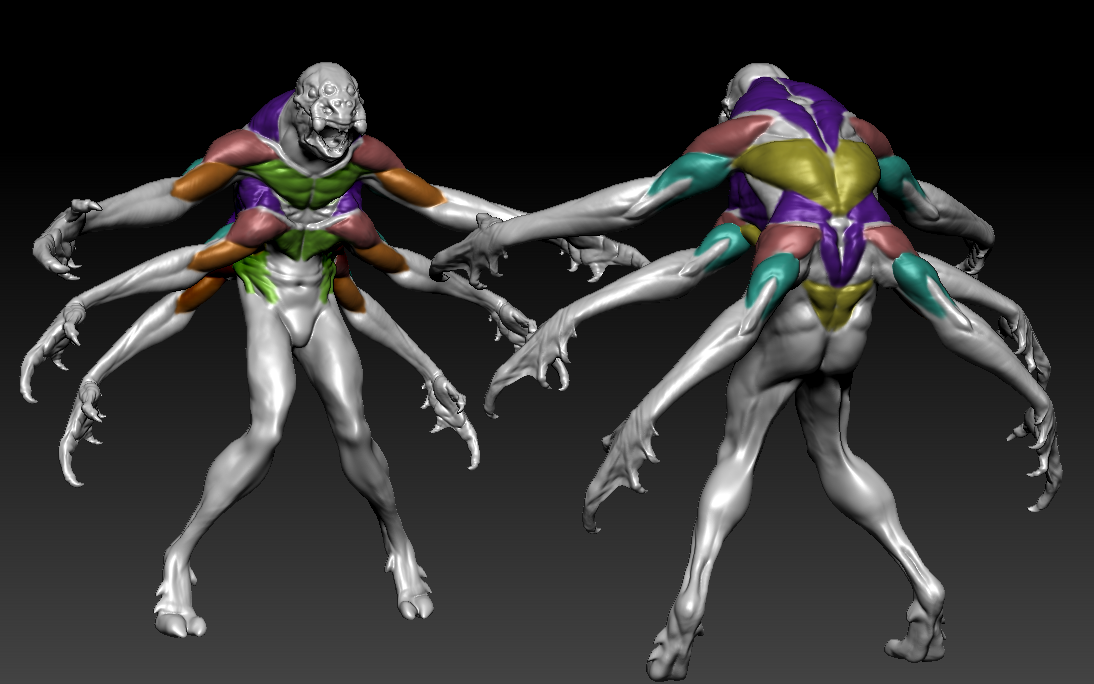
The piece was divided into three parts. This was done for a few reasons. The biggest of which is to get a larger finished piece. The Form1+ 3D printer I used for this project has a maximum build volume of 5x5x8 inches. With the addition of supports and the need to angle the head back to avoid support touch point in areas of high detail, I couldn't get the size I wanted if I were to do a single print.


An added benefit to printing in sections is that if a part fails to print, that is it has errors in the physical result such as holes, you only waste the material of that section of the print. Errors are fairly common. The first head I printed failed near the end (as they usually and unfortunately do), leaving the last 10% of the head unfinished. This had to be scrapped and reprinted. The second print of the head also failed, but fortunately it was salvageable. There was a hole in the forehead, but it was in an area of low detail so I was able to patch it and do some minor sculpt fixes using a moldable product called Magic Sculpt. This was introduced to me by my modeling friends at Disney Animation. It's a two part, self hardening epoxy that is very soft and easy to work with when first mixed. It gets harder over time, eventually becoming rock hard and great for sanding.
At this point, I filled the hollow prints with old Super Sculpey. This gives the piece some weight, which I've found to really add to the experience of holding the piece. I have some older prints that I wish I had filled. When I hold them, their lack of weight gives them a certain cheap quality. As a famous fictional lawyer once said, "Is it heavy? Then it's expensive". But he got eaten by a T-Rex while sitting on a toilet 30 minutes later, so what does he know.


The hard part was over and we're ready to spray paint. I applied one coat of grey primer, and three coats of the cream, acrylic, gloss paint I chose for this piece. Special care was taken to apply only thin layers as it would be very easy to blow away surface details with heavy coats of paint. The very last step was to apply soft material to the bottom of the piece, a touch which I felt added to the professionalism of the piece.

Thanks for reading!